
How to Install Cable Trays: A Step-by-Step Guide
Introduction
A well-executed cable tray installation forms the backbone of an organised and efficient cable management system. When done correctly, it not only supports and routes cables safely but also significantly reduces potential risks and long-term maintenance needs.
In this guide, we’ll walk you through a clear, step-by-step process to master cable tray installation—helping you build a reliable and streamlined network infrastructure with confidence.
Step 1: Planning and Design
A successful installation starts with thorough planning and design. This stage ensures your system is both functional and scalable. Key points include:
Cable Assessment
Determine the types and number of cables to be routed, and account for future expansion.
Layout Planning
Design the cable tray path around electrical panels, network switches, and other critical connections. Optimise the route to avoid clashes with existing systems.
Load Capacity
Calculate the total cable weight and select trays with sufficient load capacity to prevent sagging or failure.
Step 2: Selecting the Right Cable Tray
The performance of your system depends on choosing the right tray. Keep these factors in mind:
Environment
For corrosive or harsh settings, choose corrosion-resistant materials like stainless steel or fiberglass.
Indoor vs. Outdoor Use
Select trays designed specifically for indoor or outdoor conditions.
Tray Type
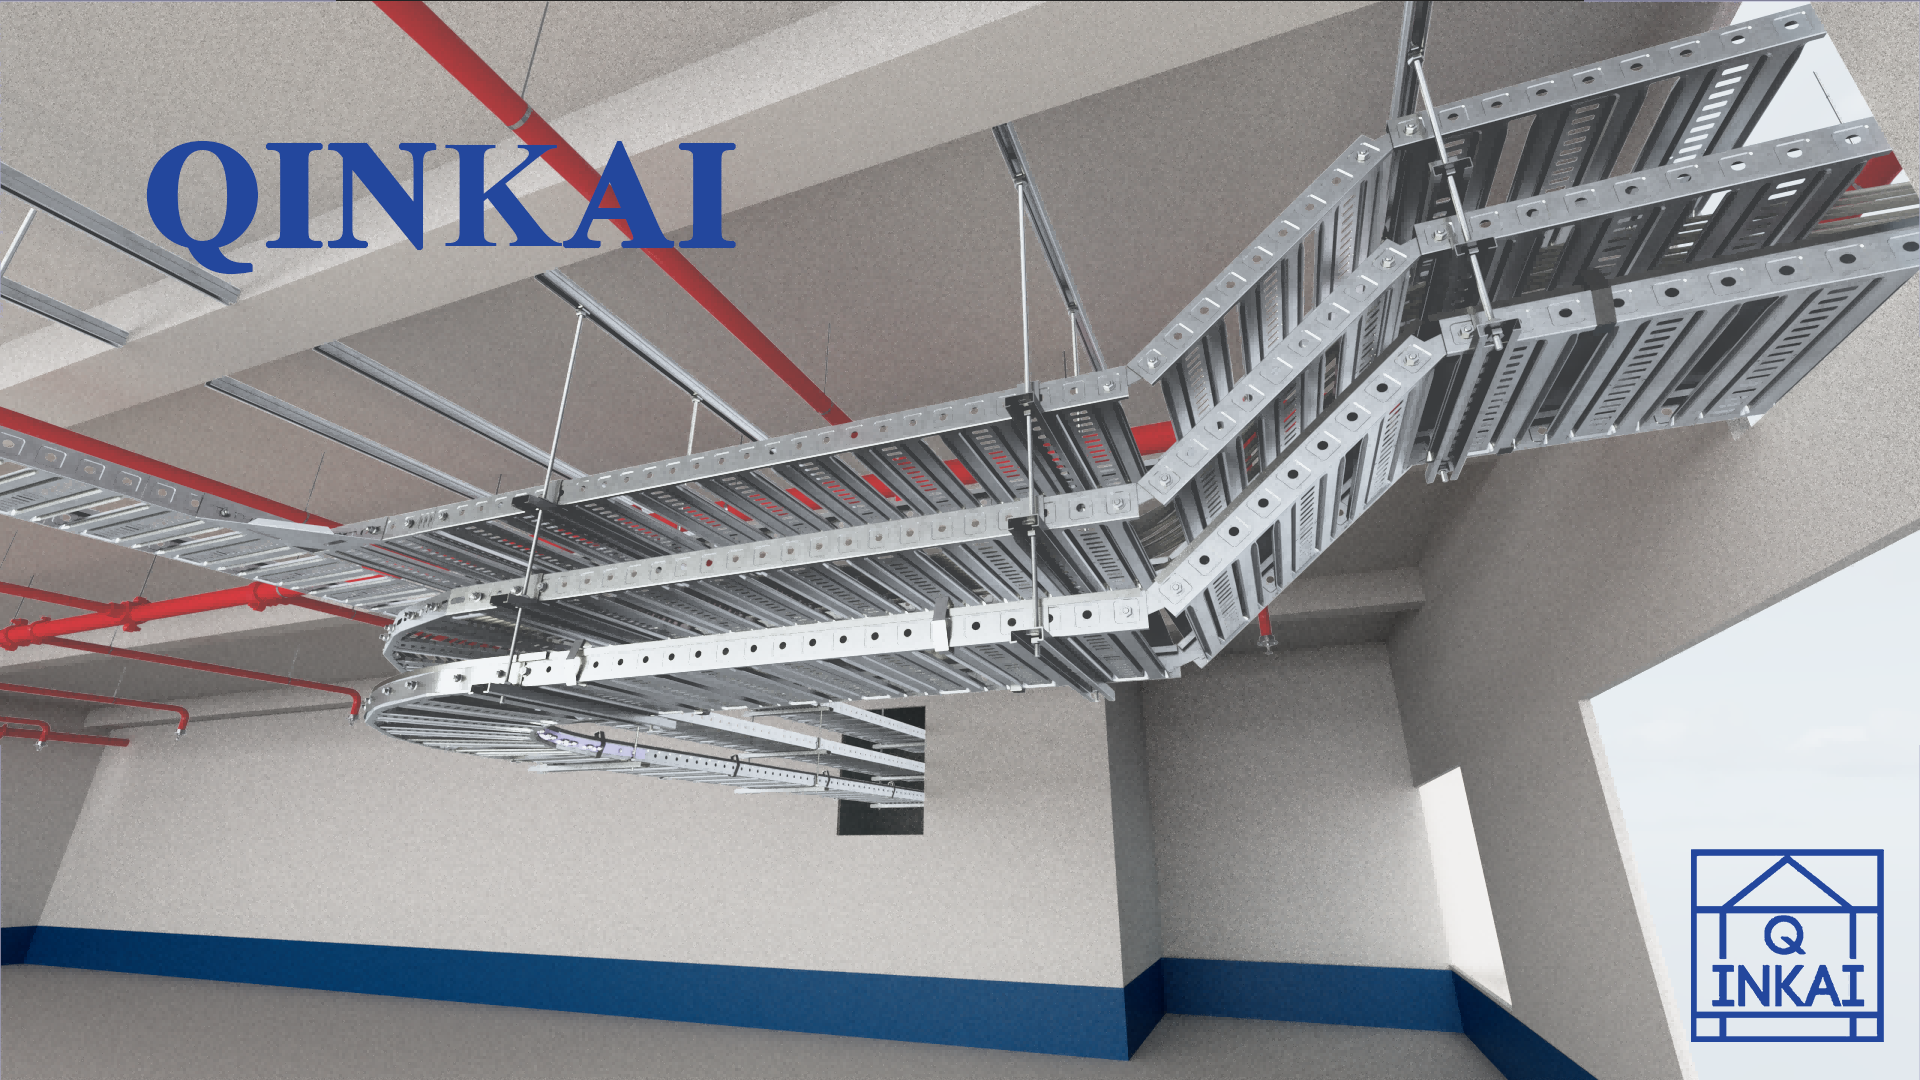
Common types include ladder, solid bottom, wire mesh, trough, and channel. Match the tray to your application.
Step 3: Preparing the Installation Site
Prepare the area before installation to avoid delays or errors:
Clear the Area
Remove debris, dust, and any obstructions from the installation path.
Marking & Measuring
Accurately mark mounting points and verify measurements to ensure proper alignment.
Step 4: Mounting the Cable Trays
Precision is key during mounting. Follow these steps:
Install Wall Brackets
Securely attach brackets to the wall using appropriate anchors and fasteners.
Check Alignment
Ensure all brackets are level and properly aligned before attaching the tray.
Secure the Tray
Fasten the tray firmly to the brackets using nuts and bolts, confirming it is stable and even.
Step 5: Cable Installation
Once trays are mounted, proceed with laying the cables:
Provide Support
Use cable ties or clamps to secure cables within the tray and prevent sagging.
Organise Cables
Group and separate cables by type or function to reduce interference and simplify maintenance.
Label Everything
Clearly label each cable to ease future troubleshooting and upgrades.
Step 6: Grounding and Bonding
Safety cannot be overlooked:
Grounding
Connect the tray to the grounding system to dissipate static charges and enhance electrical safety.
Bonding
Bond all tray sections to maintain electrical continuity and avoid potential differences.
Step 7: Final Inspection and Testing
Complete the installation with a thorough check:
Visual Inspection
Look for loose fasteners, misalignments, or damage to trays and cables.
Load Testing
Verify that the loaded tray performs correctly under weight without signs of strain.
Conclusion
Mastering cable tray installation is essential for building a safe, orderly, and high-performing cable management system. By following this structured approach, you can achieve a professional installation tailored to your infrastructure needs.
A correctly installed cable tray system offers peace of mind, delivering reliability and safety for years to come.
If you’d like to explore our range of cable trays, [click here]
Interested in learning more about the author? [Contact us here]
Post time: Sep-12-2025