
In today’s fast-paced industrial and commercial environments, efficient cable management is crucial for ensuring safety, order, and ease of maintenance. One of the most effective solutions for managing power and data cables is installing cable trays. This article will guide you step-by-step through the installation of cable trays, ensuring you can effectively manage your cables and comply with safety standards.
What is a cable tray?
Cable trays are support systems used to secure and organize cables and wires. They are typically made of materials such as steel, aluminum, or fiberglass and come in various shapes and sizes. Cable trays are widely used in industrial and commercial settings to facilitate cable routing, protect cables from damage, and simplify maintenance.
Benefits of using cable trays
1. **Organization**: Cable trays help organize cables, reduce clutter, and make it easier to identify and access specific cables when needed.
2. **Protection**: They protect cables from physical damage, moisture, and other environmental factors that may cause abrasion.
3. **Easy to maintain:** With a well-organized cable tray system, maintenance becomes more straightforward, allowing for quick troubleshooting and repairs.
4. **Flexibility**: Cable trays can be easily modified or expanded to adapt to changing cable management needs.
Required tools and materials
Before starting the installation process, please prepare the following tools and materials:
tool:
tape measure
– Level
Drill bit and drill rod
screwdriver
wrench
Safety goggles
– Gloves
Material:
– Cable trays (choose the appropriate type and size according to your needs)
– Tray brackets (brackets, hooks, or mounting hardware)
– Cable ties or clips
– Fasteners (screws, bolts, and nuts)
– Grounding equipment (if required)
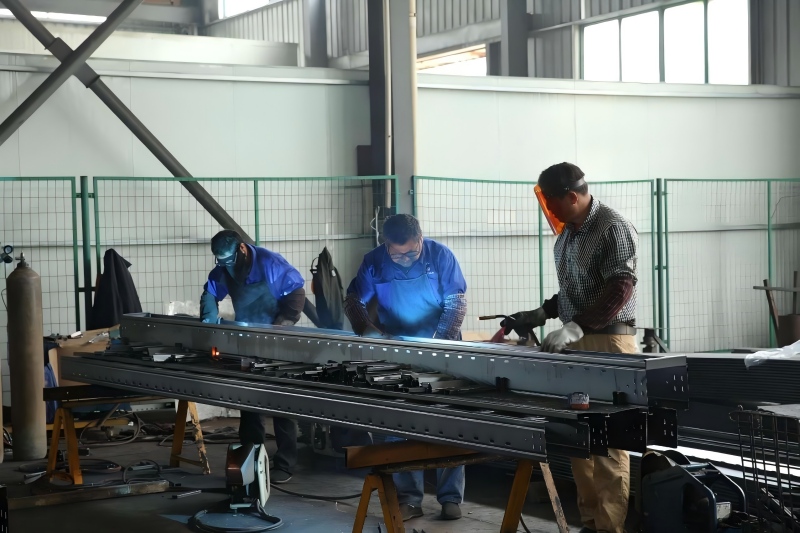
Step-by-step installation process
Step 1: Planning and Design
Before installation, be sure to plan the layout of the cable tray system. Please consider the following factors:
- **Cable Type**: Determine the type of cable you will be using (power cord, data cable, etc.) and its dimensions.
– **Path**: Determine the optimal path for the cable trays, avoiding obstacles and ensuring compliance with local building codes and regulations.
– **Load Capacity**: Ensure the cable tray can withstand the weight of the cables you plan to install.
Step Two: Measurement and Marking
After finalizing the plan, measure the installation area for the cable trays. Use a measuring tape to mark the locations of the cable tray supports, ensuring that the supports are evenly spaced and level. Typically, supports should be installed every 5 to 10 feet, with the exact spacing depending on the size of the cable tray and the load.
Step 3: Install the tray support
Use an electric drill to install the tray bracket in the marked location. Ensure that the bracket is securely fixed to the wall or ceiling using fasteners of appropriate material (e.g., expansion bolts for concrete, screws for wood). Use a level to ensure the bracket is straight and aligned.
Step 4: Assemble the cable tray
If your cable tray is segmented, assemble it according to the manufacturer’s instructions. Ensure all connections are secure and that there are no sharp edges on the tray that could damage the cables.
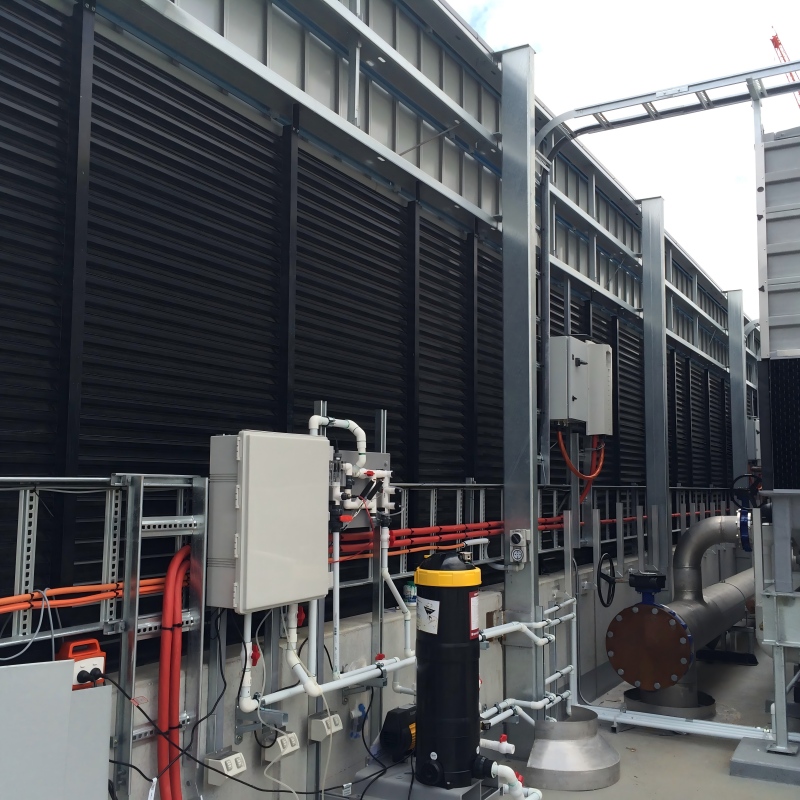
Step 5: Install cable trays
Carefully lift the assembled cable tray and place it on the installed bracket. Secure the cable tray to the bracket using the provided fasteners, ensuring it is stable and can withstand the weight of the cables.
Step 6: Install the cable
After the cable tray is securely installed, you can begin installing the cables. Start from one end of the cable tray and gradually lay the cables towards the other, ensuring they are neat and orderly. Use cable ties or clips to secure the cables in place to prevent them from moving or getting tangled.
Step 7: Grounding (if necessary)
Depending on the cable type and installation environment, grounding may be required. Please follow local electrical codes and regulations to ensure that the cable tray system is properly grounded.
Step 8: Final Inspection
After all cables are installed, conduct a final inspection of the entire cable tray system. Check for loose connections, sharp edges, or potential hazards. Ensure all cables are securely fastened and the cable tray is stable.

Step 9: Document Compilation
Document the installation process, including the layout, the types of cables used, and any changes made. These documents will be helpful for future maintenance and troubleshooting.
Safety Precautions
Safety is always paramount when installing cable trays. Here are some important safety tips to keep in mind:
- **Personal Protective Equipment (PPE):** Always wear safety goggles and gloves to protect yourself from potential dangers.
**Electrical Safety:** Always turn off all power before installation. If working near live electrical wires, take extra precautions to avoid electric shock.
– **Weight Limits**: Please note the weight limits for cable trays and supports to prevent overloading.
– **Comply with local regulations:** Comply with local building codes and regulations concerning cable management and installation.
In industrial and commercial environments, installing cable trays is a practical solution for managing cables. By following this step-by-step guide, you can ensure a safe and efficient installation that meets your cable management needs. Be sure to plan carefully, prioritize safety, and document your work for future reference. A well-installed cable tray system allows you to enjoy the numerous benefits of neat, organized, safe, reliable, and easy-to-maintain cables, ultimately improving your operational efficiency.
→ For all products,services and up to date information,please contact us.
Post time: Jan-27-2026