
Cable trays are an important component in any electrical system, providing a safe and orderly way to route and support cables. Whether you are setting up a new electrical system or upgrading an existing one, selecting and installing the correct cable tray is crucial. In this article, we’ll discuss the key factors to consider when choosing cable trays and provide a step-by-step guide to installing them.
Select cable tray:
1. Determine the purpose: Determine the specific requirements of the electrical system. Consider factors such as cable capacity, load carrying capacity and environmental conditions.
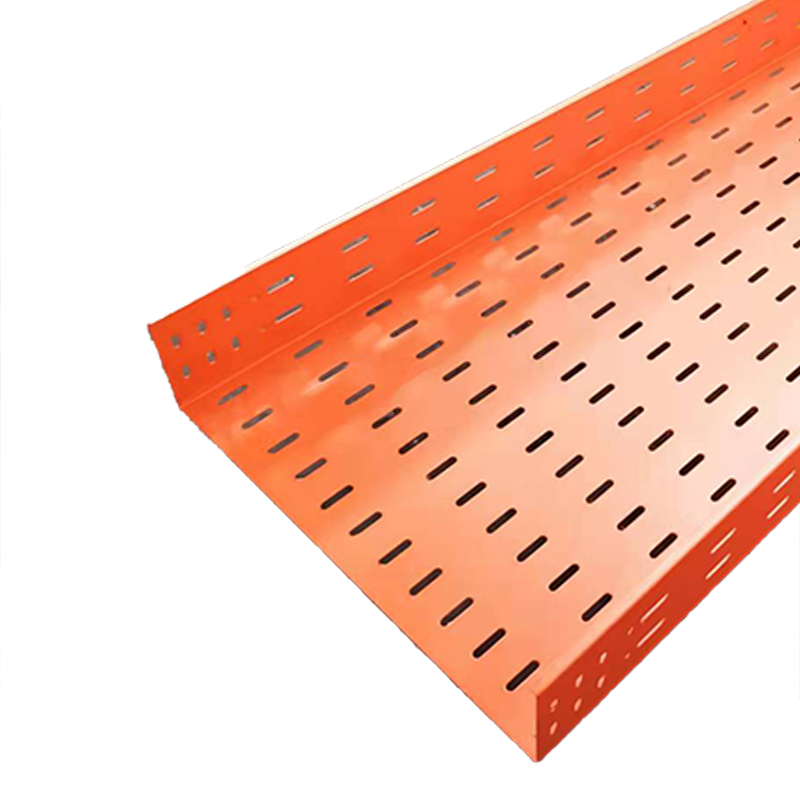
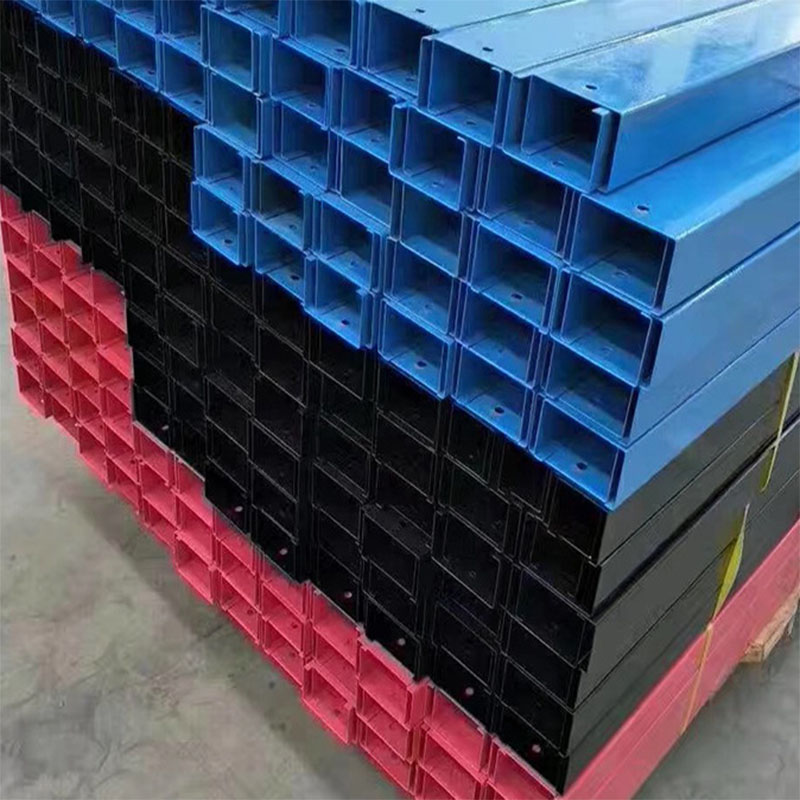
2. Material: Cable trays are available in a variety of materials such as steel, aluminum, and fiberglass. Each material has its advantages and disadvantages in terms of cost, durability and corrosion resistance. Choose a material that meets your needs.
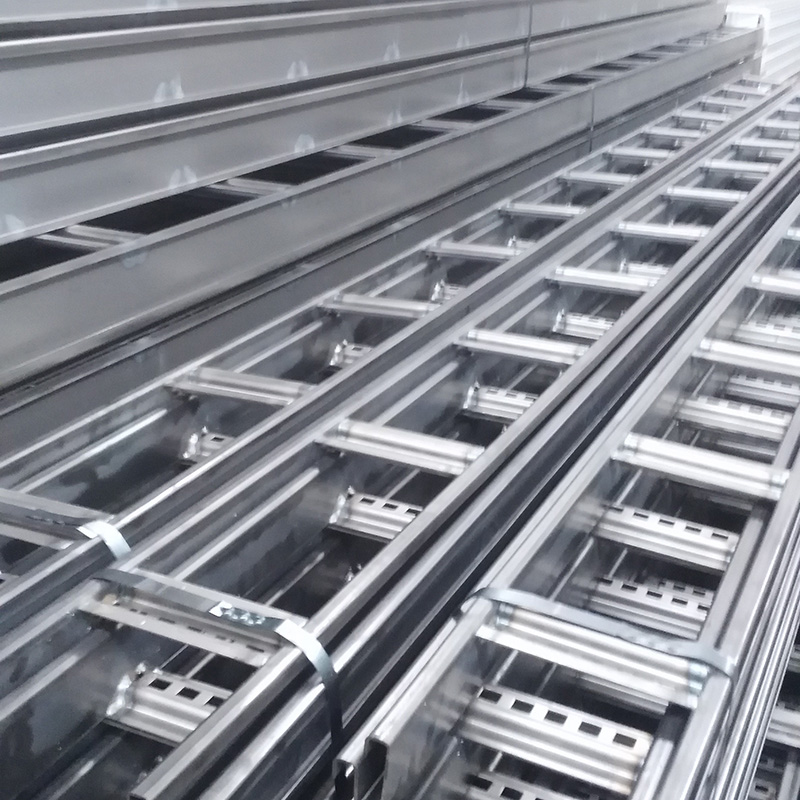
3. Cable bridge types: There are many types of cable bridges, including ladder bridges, solid bottom bridges, wire mesh bridges, ventilation bridges, etc. The type of tray depends on the size, weight and bend radius requirements of the cable. Assess your cable management needs and choose the most appropriate type.
4. Size and capacity: Determine the size and capacity of the cable tray according to the number and size of cables. A tray that is too large may add unnecessary cost, while a tray that is too small may restrict cable movement or cause overheating. Refer to industry standards and guidelines for appropriate pallet sizes and capacities.
Install cable tray:
1. Plan the installation: Before starting the installation process, make a detailed plan. Determine the route of the cable tray taking into account factors such as obstacles, support structures, and accessibility. Ensure compliance with safety regulations and any specific requirements.
2. Prepare the site: Clean and prepare the area where the cable tray will be installed. Remove any debris or obstructions that may prevent proper installation or operation of the pallet.
3. Install brackets and brackets: Install the brackets and brackets according to the planned route. Make sure they are securely fastened to the wall, ceiling, or floor to ensure stability and load-bearing capacity. Use appropriate hardware based on pallet and mounting surface requirements.
4. Cable tray installation: Start installing the cable tray section by section and secure it to the mounting bracket. Ensure proper alignment and leveling to avoid any sharp bends or twists in the pallet.
5. Route cables: Route cables within the tray, making sure they have enough space and separation to avoid overheating and interference. Use zip ties or clamps to organize cables to maintain a neat and structured layout.
6. Bonding and Grounding: Cable trays should be bonded and grounded according to electrical code requirements to minimize electrical hazards. Use appropriate connection jumpers and ground connectors to ensure proper electrical continuity.
7. Inspection and Testing: After installing the cable tray, conduct a thorough inspection to ensure proper alignment, support, and cable routing. Tests are performed to check the integrity of the electrical system and confirm that there are no electrical faults or short circuits.
In summary, selecting and installing cable tray is a critical step in ensuring the safety and efficiency of your electrical system. By considering factors such as purpose, material, type, size, and capacity, one can make an informed decision when selecting a cable tray. Following a step-by-step installation process, including planning, site preparation, pallet installation, cabling, connections and grounding, ensures proper functionality and compliance with safety standards. Proper cable tray selection and installation results in a well-organized and reliable electrical infrastructure.
Post time: Sep-12-2023